Getting started on Microservices with .NET 💓
I did not imagine dating with Microservices would be so easy! With .NET, it is even more fascinating.

As a 🚀 Vice President with over 12 years of experience, I am a seasoned software architect known for designing and leading teams of engineers to deliver high-quality software products promptly and within budget.
Throughout my career, I have spearheaded the end-to-end design of 7 innovative software products 🎯.
From conceptualization to deployment planning, I have successfully guided teams through requirements gathering, prototyping, testing, and deployment phases, ensuring exceptional outcomes.
I take pride in my industry recognition, including being honored as a 💎 Microsoft Most Valuable Professional, 💡 CodeProject Most Valuable Professional, and 🏆 DZone Most Valuable Blogger.
Additionally, my expertise has been acknowledged by BookAuthority, which recognized my books on ASP.NET, REST API, Vue.js, and Dependency Injection as the 📚 best of all time.
In addition to my professional achievements, I am passionate about mentorship and have been privileged to serve as a 🌟 Young Mentor at IndiaMentor, guiding aspiring professionals in their career journeys.
For further information about my work and insights, please visit my website at 🌐 http://taditdash.com.
You can also connect with me on 🐦 Twitter at https://twitter.com/taditdash, 👍 Facebook at https://www.facebook.com/taditdash, and 💼 LinkedIn at https://www.linkedin.com/in/taditdash.
I am always open to networking and discussing opportunities, so feel free to reach out and connect.
Let's explore how we can collaborate and drive innovation in the ever-evolving world of software architecture and development.
In this blog, we will go through my first experience in trying out Microservices with .NET 5. Though it looks very easy from the official documentation, however, I am documenting my experience as I was following through. I will explain the struggles and how I found the solutions to different issues.
The Prerequisites 🔧
As I said that I followed the official documentation, you can follow that to start up. Here are things you will definitely need to have in your system.
Let's get started 👇
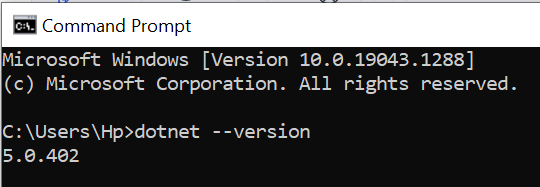
If .NET SDK is installed successfully, running the following command will show the version of .NET installed. In my case at the point of writing this blog, it is 5.0.402.
dotnet --version
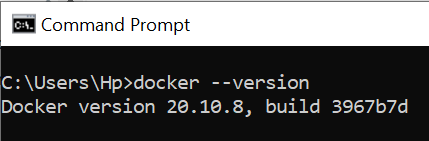
 Now let's try to see if docker is ready or not.
docker --version
Now as mentioned in the tutorial, let's build a microservice using dotnet command.
dotnet new webapi -o MyMicroservice --no-https -f net5.0
Here we are instructing to create a webapi project inside MyMicroservice directory with no https certificate as we are keeping things simple. Notice the framework mentioned in the command as net5.0.
We exactly get what we asked for. Let's have a look at the directory.
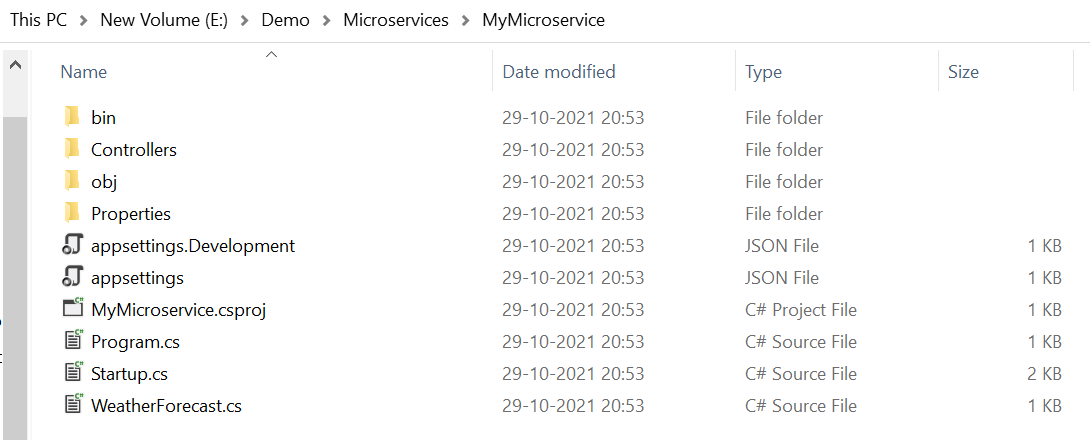
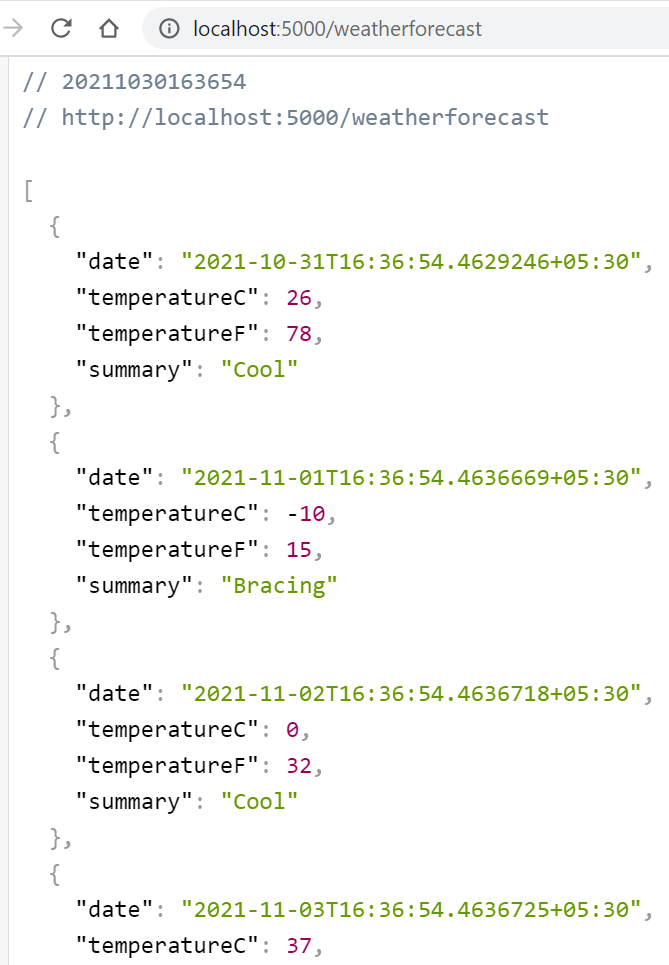
This is a scaffolded project with some autogenerated code. Notice the WeatherForecastController.cs inside Controllers directory. This is one such class that exposes one endpoint in the format of controller name without the "Controller" word, here it is /weatherforecast.
Inside this controller, the thing we care about for now is the method Get() that is going to return a list of random weather data. You can open and analyse the code which is self explanatory.
[HttpGet]
public IEnumerable<WeatherForecast> Get()
{
    var rng = new Random();
    return Enumerable.Range(1, 5).Select(index => new WeatherForecast
    {
        Date = DateTime.Now.AddDays(index),
        TemperatureC = rng.Next(-20, 55),
        Summary = Summaries[rng.Next(Summaries.Length)]
    })
    .ToArray();
}
Let's now run the Web API and try to see the result on the browser. To run the app, execute the following command inside the project directory.
dotnet run
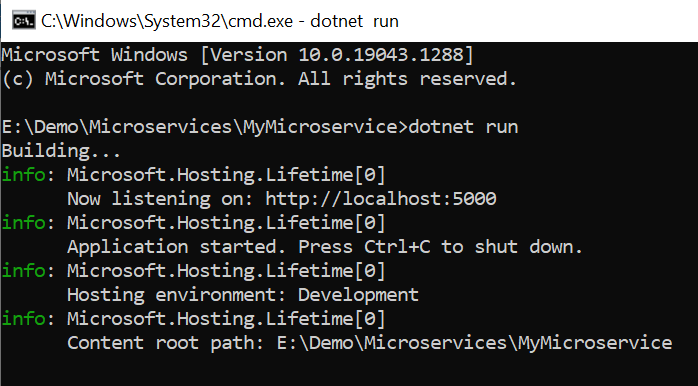 Successful! Let's open the URL (as mentioned in the screenshot above) on a browser tab.
 Alright, we are good and our app is ready. In the next section, we will set up docker.
Docker 📦
Docker helps us to package our app and configuration into an independently deployable unit otherwise called a container. Let's do that and see how that works out for us. If you have downloaded docker and checked the version then well and good. If not, now is the time to do that.
Dockerfile
I assume you have done that now while reading this sentence. Let's now instruct docker about our app and how that can run by providing information in a file name as Dockerfile inside the project folder with the following contents.
FROM mcr.microsoft.com/dotnet/sdk:5.0 AS build
WORKDIR /src
COPY MyMicroservice.csproj .
RUN dotnet restore
COPY .  .
RUN dotnet publish -c release -o /app

FROM mcr.microsoft.com/dotnet/aspnet:5.0
WORKDIR /app
COPY --from=build /app .
ENTRYPOINT ["dotnet", "MyMicroservice.dll"]
This file would help the docker daemon to build an image out of these instructions. Know more about the structure of this file here.
The docker daemon is a part of the docker engine. It is a self-sufficient runtime that manages Docker objects such as images, containers, networks, and storage.
Let's understand the instructions used in the Dockerfile.
FROM Instruction
This file starts with a FROM instruction by providing a parent image. Here, the parent image needed is Microsoft's official dotnet SDK 5.0. You can see the details of this image at docker hub. All docker images published by Microsoft can be browsed here.
Moreover, a name can be provided to a new build stage with AS to the FROM instruction. This name can be used in subsequent instructions like FROM and COPY --from=<name> to refer to the image built.
WORKDIR Instruction
This is responsible for setting up a directory for subsequent commands like RUN, COPY, etc.
COPY Instruction
The syntax is COPY <source> <destination>. In our case, we need to take all required resources inside the container so that we can build and run our app.
The instruction COPY MyMicroservice.csproj . indicates copying our project configuration file present inside the project directory to the destination /src folder that we have created just before this instruction. However, here we have mentioned a dot (.) instead of /src because we have already mentioned the WORKDIR as /src, so dot (.) will point to the relative path with respect to the WORKDIR.
There is a COPY . . command also used in our code that says to copy all our codes (first dot) into the WORKDIR (second dot).
RUN Instruction
This instruction can be used to run a command. RUN dotnet restore helps to restore all packages needed for out project.
With RUN dotnet publish -c release -o /app we are publishing our app with release configuration into the directory /app inside the container.
ENTRYPOINT Instruction
Provides the commands to configure the container as an executable that can be invoked by docker commands.
So, basically, the first set of instructions is used to do the following.
- Takes
mcr.microsoft.com/dotnet/sdk:5.0as the parent image - Creates a /src directory inside the container
- Copies project configuration file
- Restores packages
- Copy all our codes into the /src directory
- Publish the project to a directory /app with release configuration
The second set of instructions is for the following.
- Takes the parent image as the ASP.NET Core runtime image
mcr.microsoft.com/dotnet/aspnet:5.0 - Sets WORKDIR as /app
- Copies all published artifacts from the previous stage
- Executes the
dotnet MyMicroservice.dllcommand to run the app
NOTE: When we copied all files from our project to the container in the first stage, we should exclude the Dockerfile, bin, and obj folders. To do that, we can add a .dockerignore file. Here is what it would look like.
Dockerfile
[b|B]in
[O|o]bj
At this point, the following screenshot of the project directory is what you should be having.

Let's build an image using Docker 👨🏭
Now that our Dockerfile is ready with instructions, let's build an image using docker build command. A docker image is just a file (behaves as a template) used to execute codes inside the docker container. This image contains our application code, libraries, tools, dependencies, and other files required to make the application run. When an image is run using docker run command, it becomes one or many instances of a container.
Here we go.
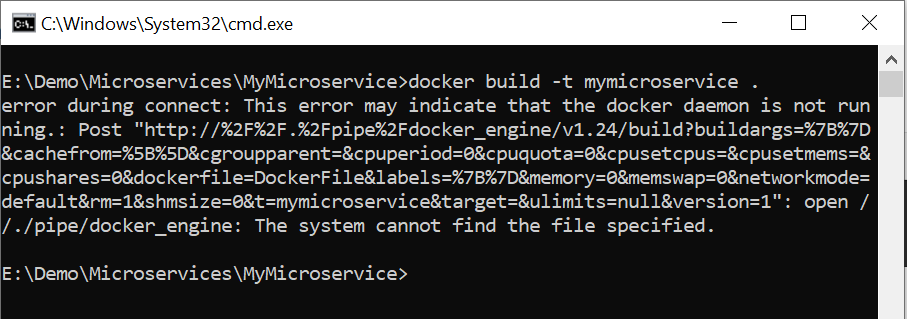
docker build -t mymicroservice .
Here -t helps to tag the image with a name, in our case it is mymicroservice so that we can refer to this image afterwords. The final parameter (dot) tells it which directory to use to find the Dockerfile. Here dot refers to the current directory as we are running this command inside the project directory. This command downloads and builds all dependencies to create a Docker image that we will use to run a container.
Let's hit enter. Not what we expected. You might see an error like the below where it is mentioned that no such Dockerfile is found.
 This happened to me due to a silly mistake with a letter casing F that made the file name
 DockerFile, but it should be 'Dockerfile'.
Alright, let's move on. Here is what you would see if the Dockerfile is correct and found.
Oops! One more error. 😢😢😢 No issues. It says to start docker. Let's do that. Just searched from available apps in the system and ran. Here is what I see.
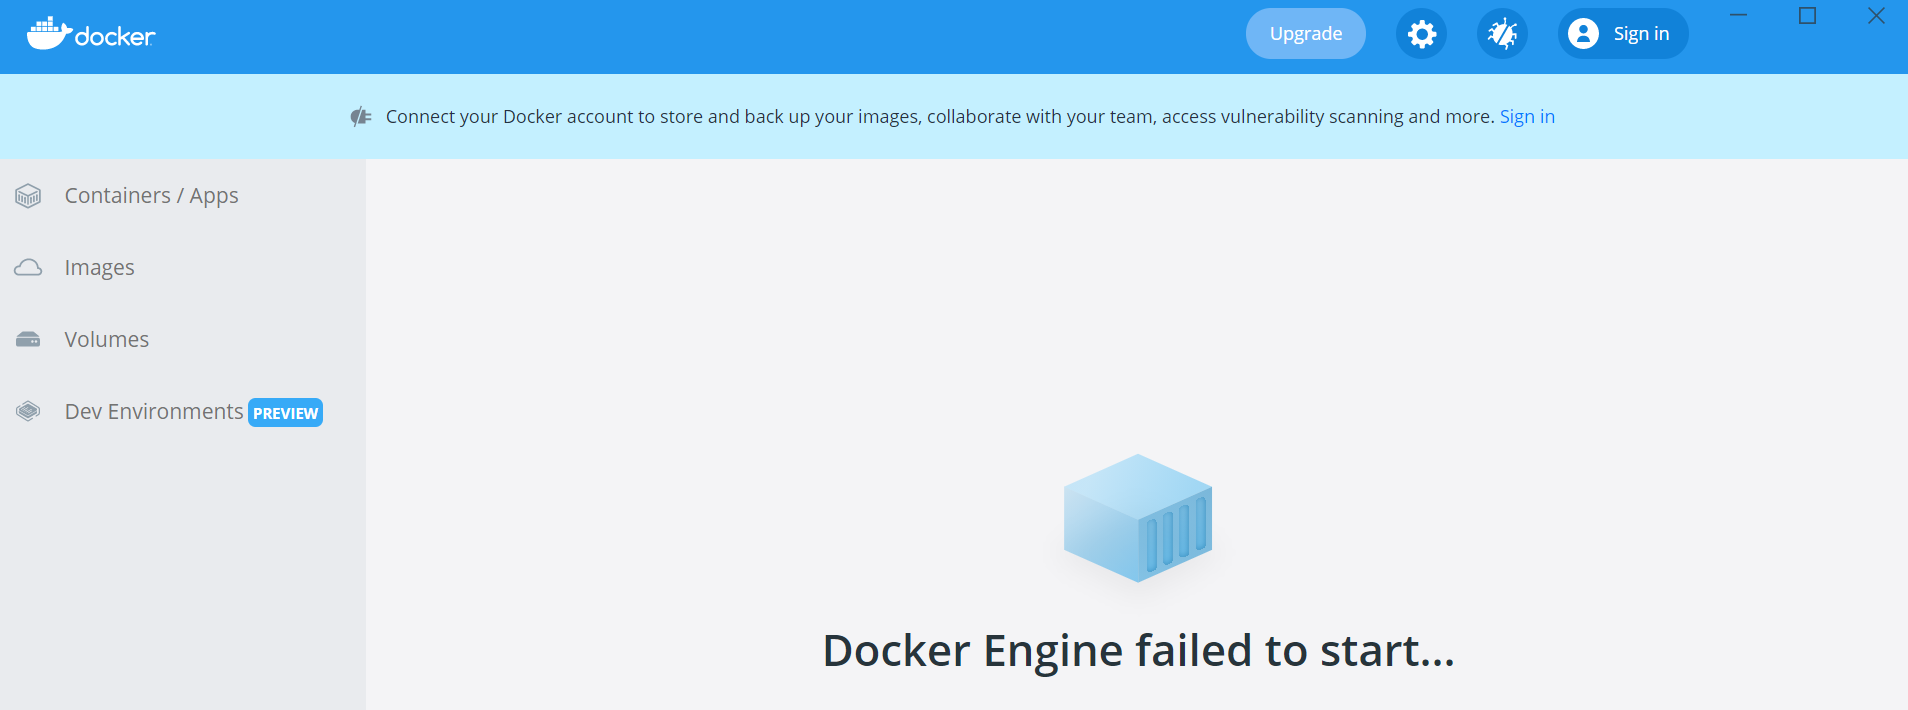
The docker engine failed to start. Interesting! 🤦♂️ My date is getting a little frustrating! 🙁
Oh, I remember, doh! I intentionally skipped one step to see what error I would get going forward. That step is the system restart after docker installation. Let me do that quickly.
The following windows alert confirms my suspicion.
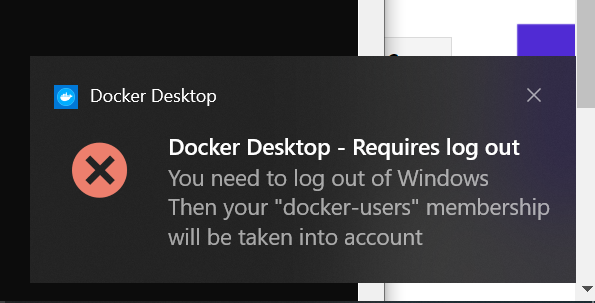
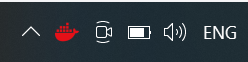
You might also notice a red docker icon on the system tray like mine.
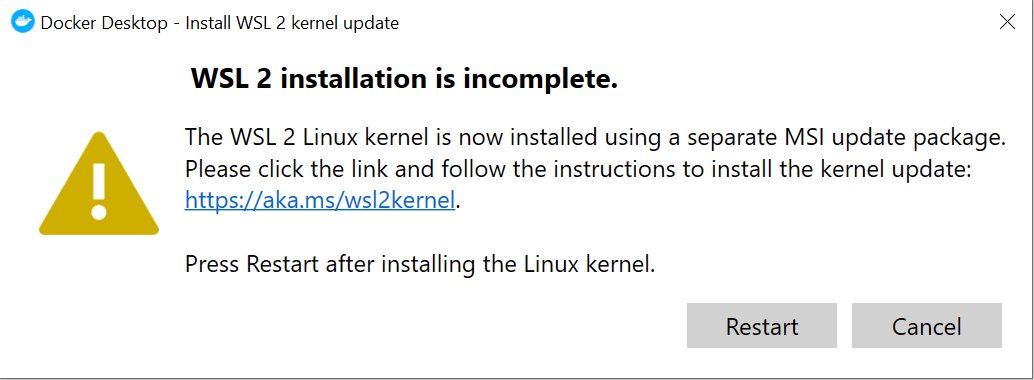
Alright, the system is restarted. Now trying to open docker again. I see this now.
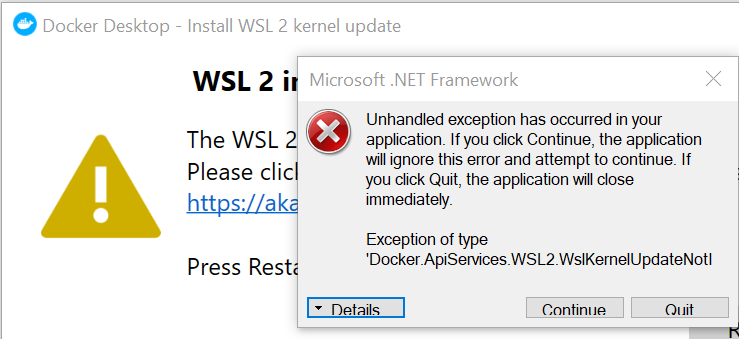
It mentions something like WSL2. Let's click on the "Continue" button as we want to see the information behind this error.
 WSL2 is a Linux kernel built by Microsoft, that allows Linux containers to run natively without emulation.
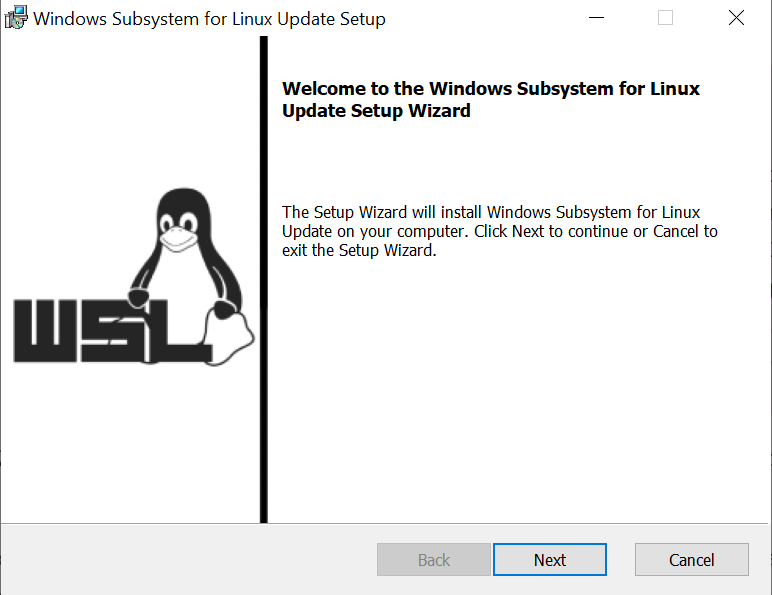
As asked, let's install that from here. Download, run the setup and follow the next -> next process to complete.
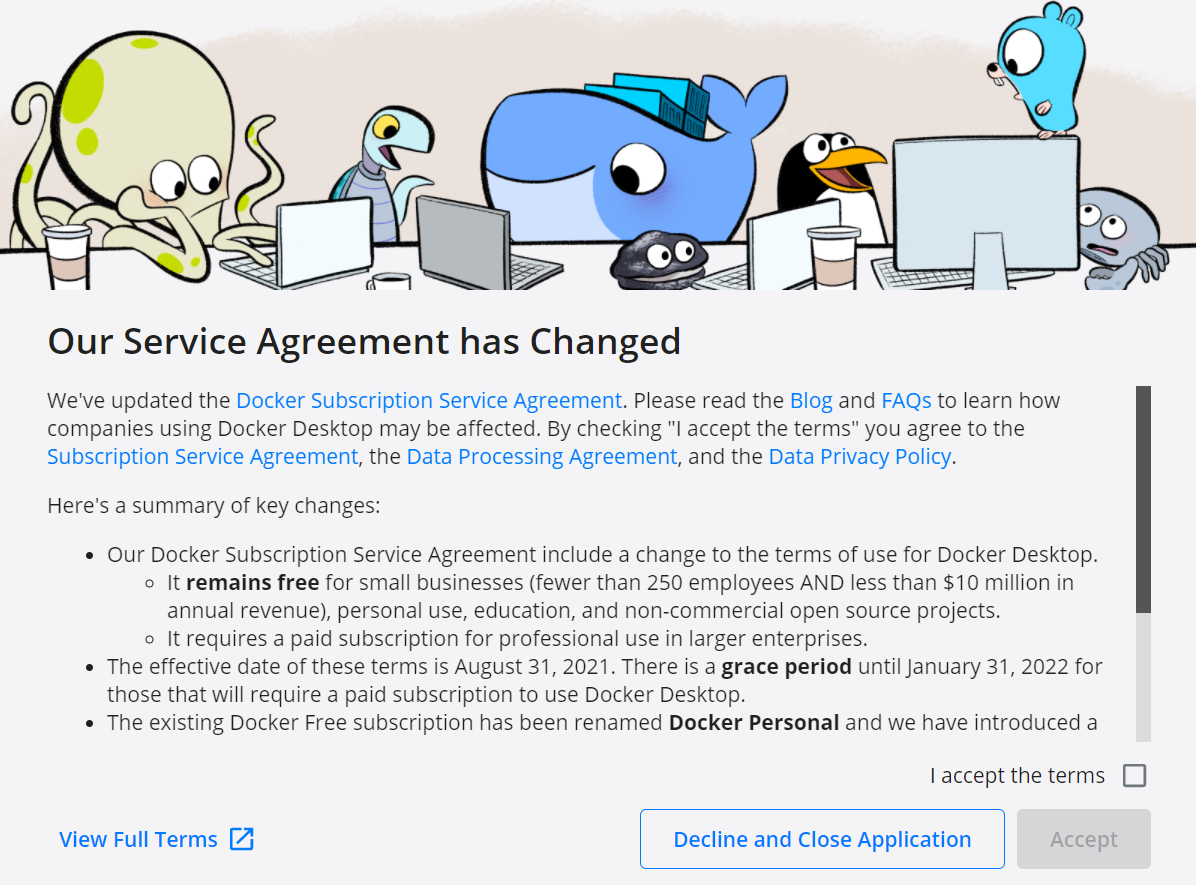
Now that we are ready with docker and WSL 2, let's rerun the docker app which would in return ask us to accept the service agreement. Let's accept and move on.
Still not done. Now you might see a firewall network access request. Something like below.
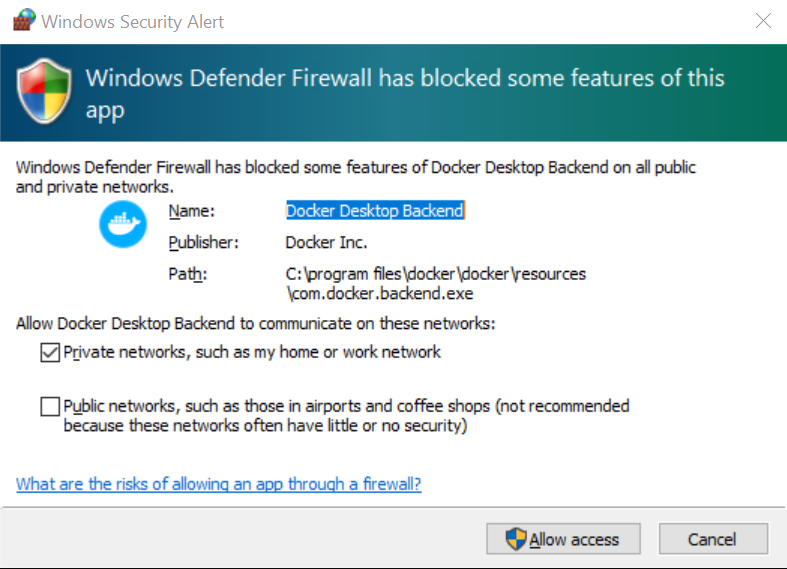
You can allow access here or to make it more interesting close this pop-up in order to struggle a bit again. I did that and then found out how to enable firewall network access for docker. Here is how.
- Search for Windows Defender Firewall from the windows menu and then click on "Allow an app or feature through Windows Defender Firewall".
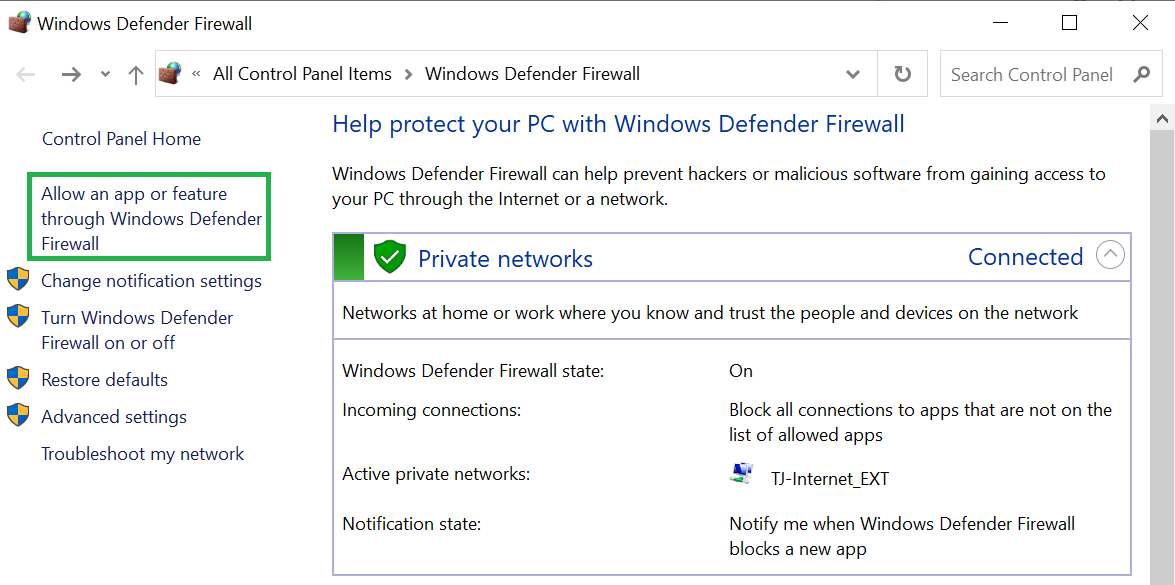
- Scroll down inside the list of the available apps, find out and check the "Docker Desktop Backend" checkbox.
- Check the checkboxes for Public and Private options for this app.
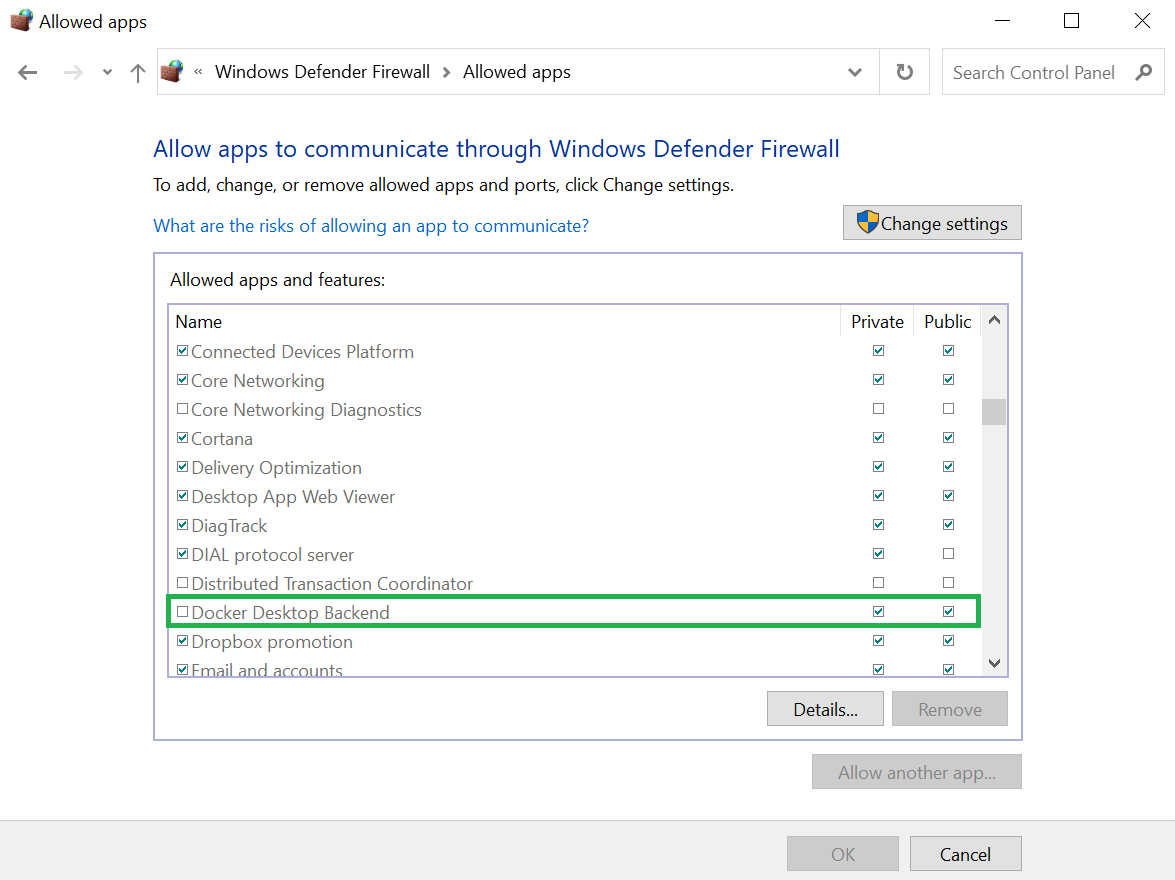
- Click the "OK" button to save the settings.
Awesome, let's open the docker app again. Here is what we should see with a "No containers running" message which means there is no more configuration error.
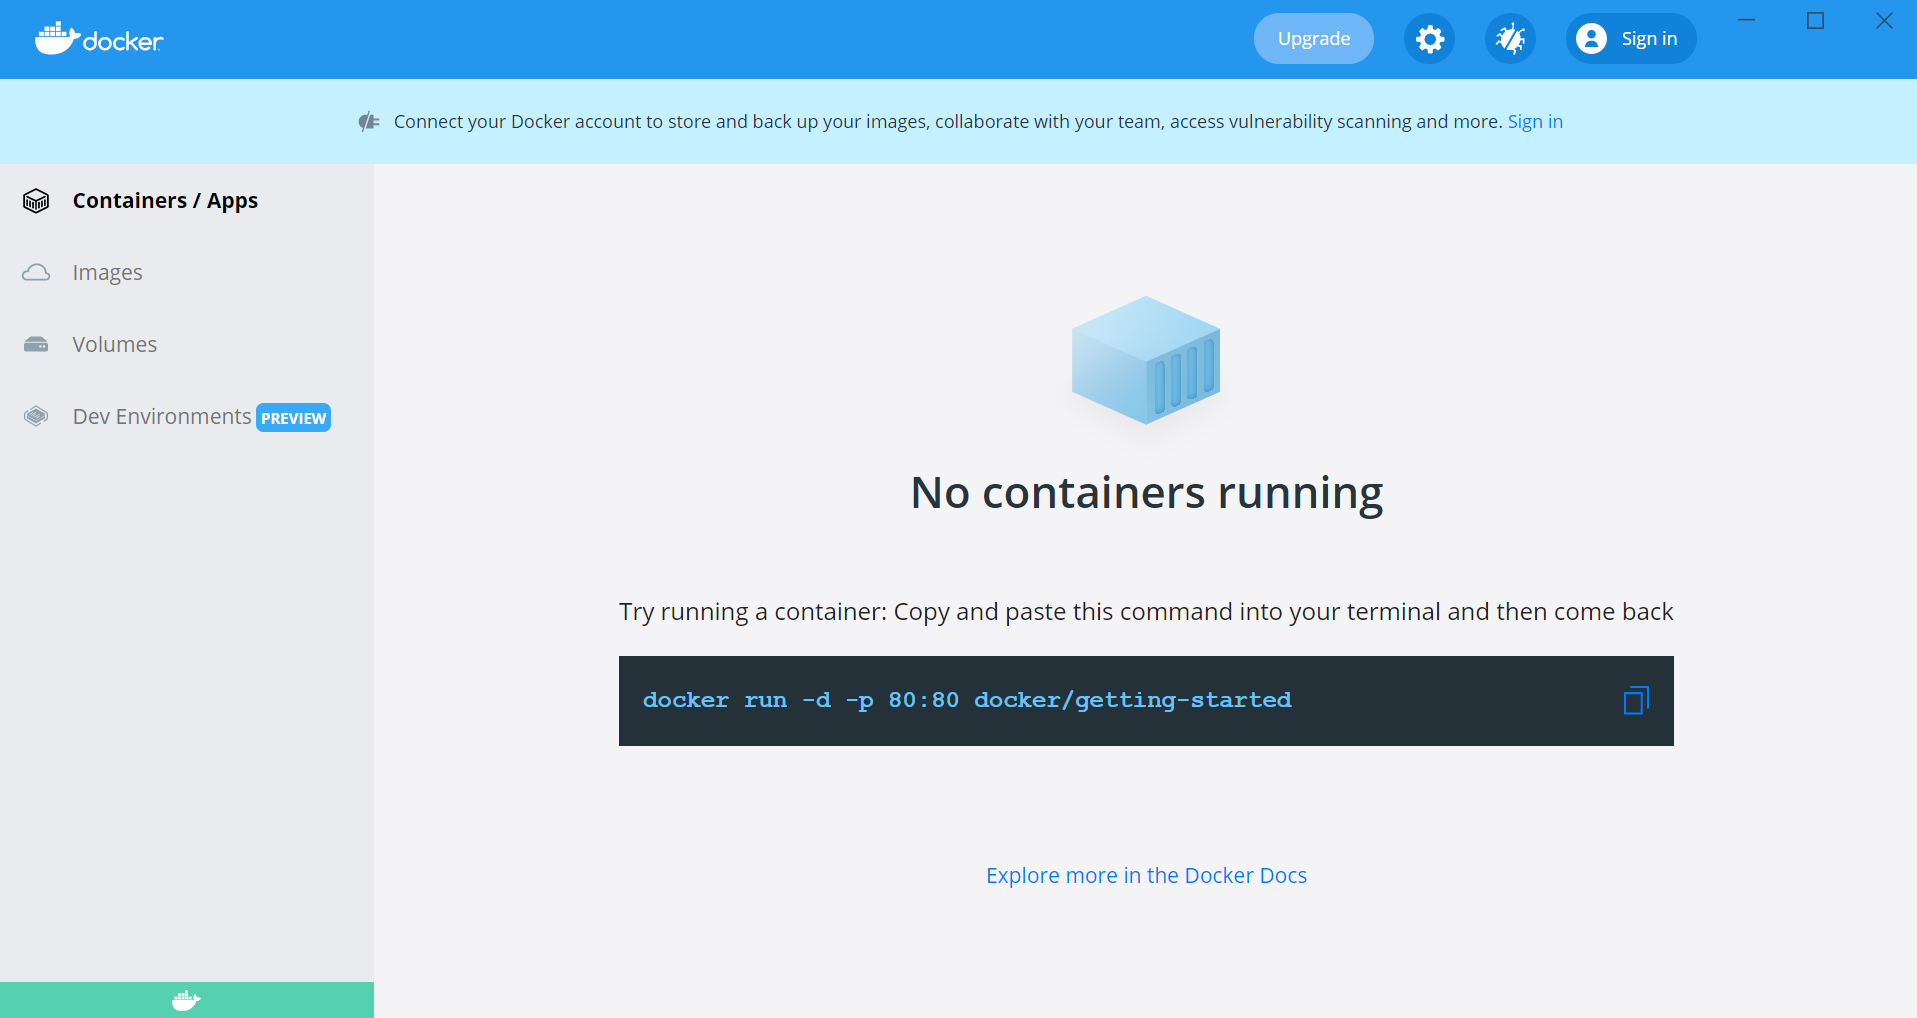
However, no containers are running as well. That is expected as we have not yet run our container. Let's do that next, but before that let's rebuild the image as it failed initially.
docker build -t mymicroservice .
With this command, the process has started and you should see these messages on the command prompt.
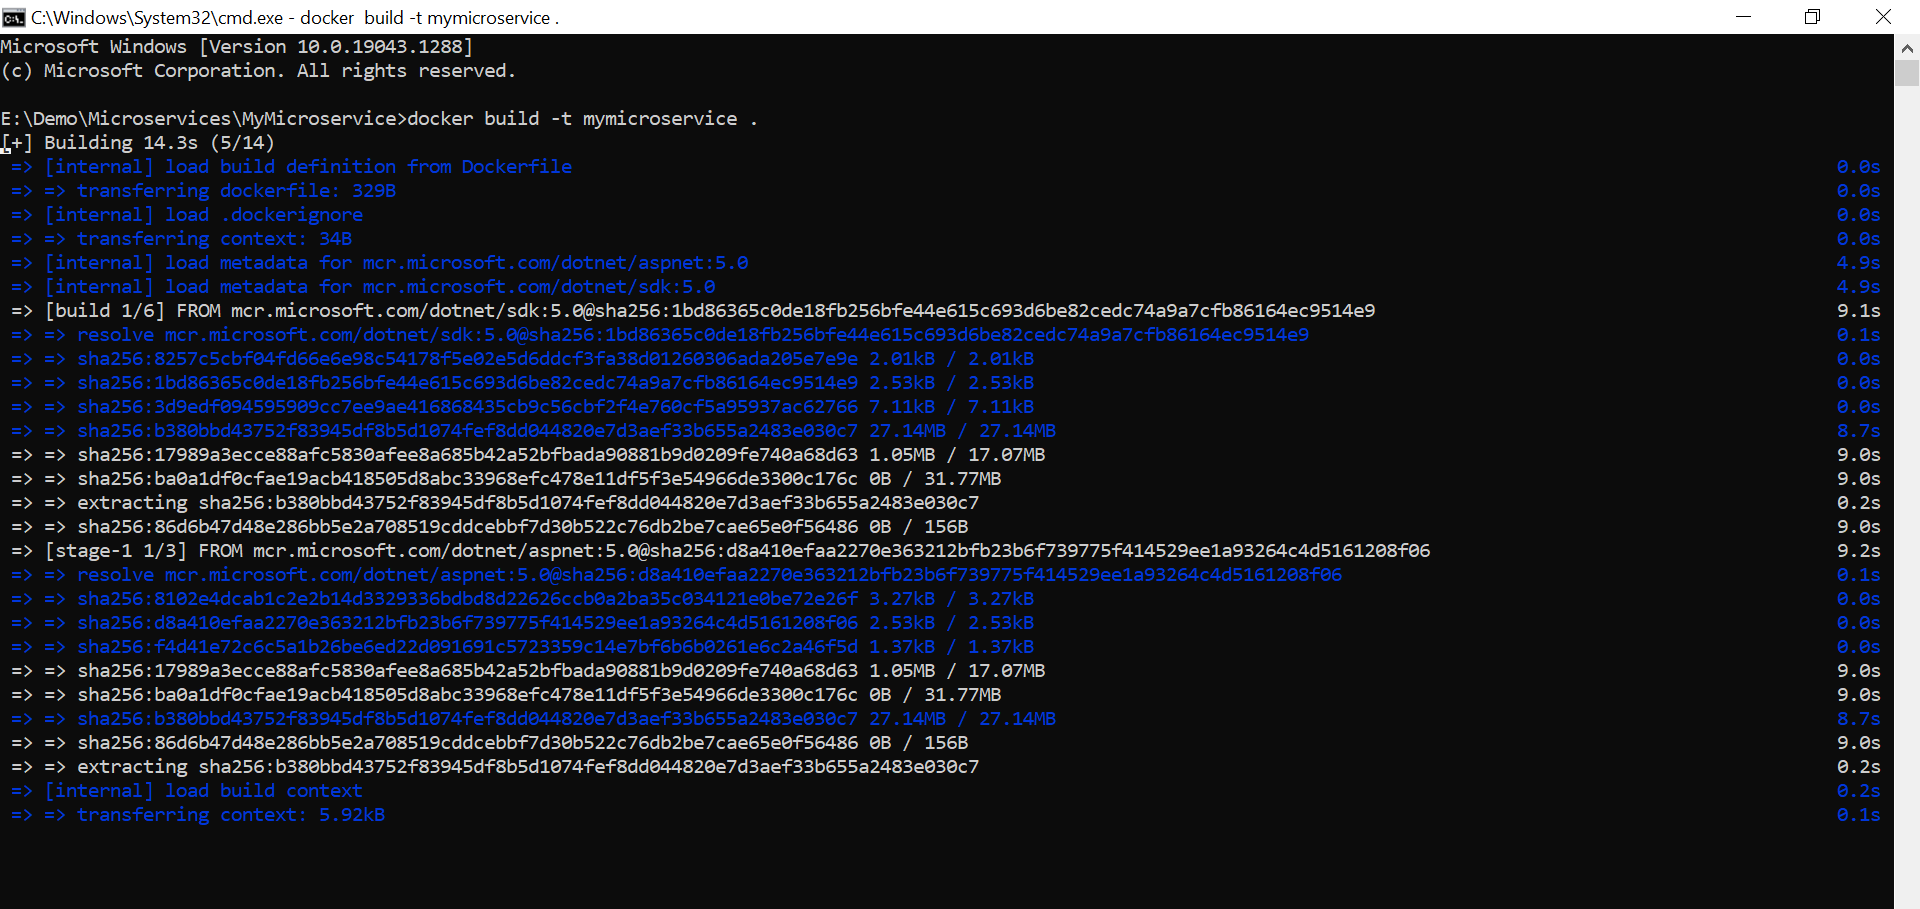
Done. No errors anymore on the command prompt. The image is built successfully.

Beautiful. Now let's verify whether the image exists by executing the following command.
docker images
Awesome, we see our image listed, here is the screenshot.

Let's run a container using this image.
Run the Docker Container 🏃♂️
Let's run the image to create a container using the command mentioned below. Let's understand all that is coded here one by one.
docker run -it --rm -p 3000:80 --name mymicroservicecontainer mymicroservice
docker runis the command used to run an image-itflag tells Docker to allocate a virtual terminal session within the container. This is commonly used with the-i(or --interactive) option, which keeps STDIN open--rmflag tells the Docker Daemon to clean up the container and remove the file system after the container exits-pmaps a single port for the container--nameis used to identify a containermymicroserviceis the image that we have created earlier
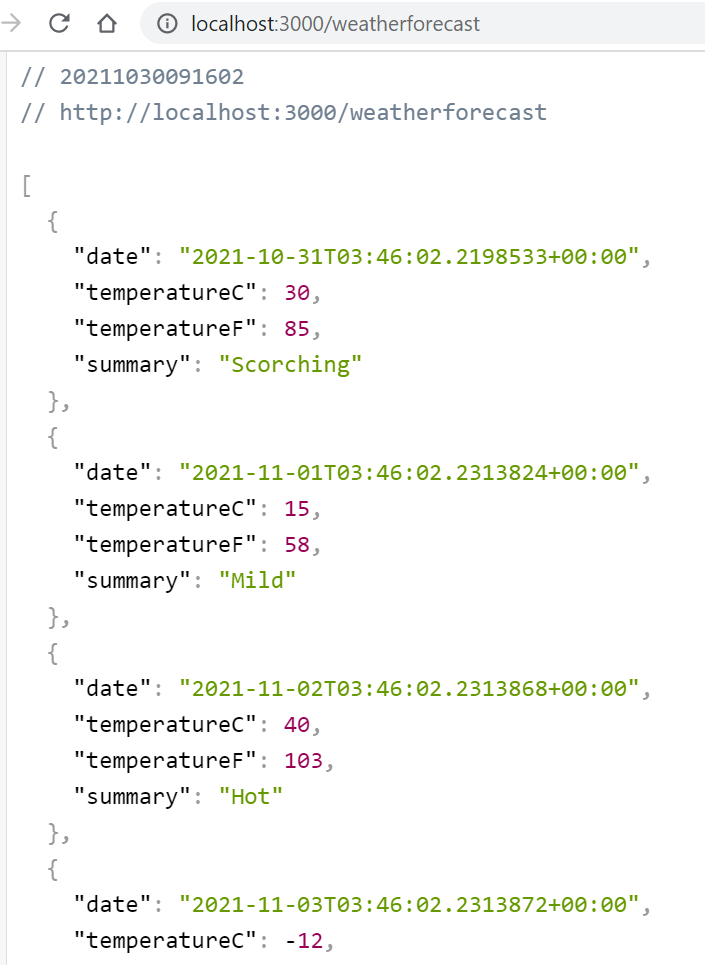
Hit enter and let's see what happens.

Wow, it says application is started. Let's open the URL and verify http://localhost:3000/weatherforecast.
Beautiful. We can also verify running containers information with the following command.
docker ps

Inside docker for windows app, we can also see our container displayed with a running status on port 3000.
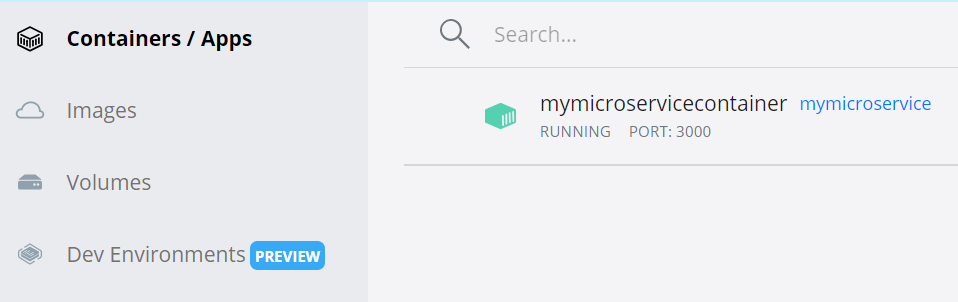
If we click on this container, we can see the details of the running container similar to what we saw after we ran the docker run command.

Next steps ⏭
So, finally the microservice is ready and running inside of a docker container that is independently deployable on any platform without any external configurations. In the next blog, we will see how we can deploy this to a cloud provider.
Feedback 🙌
Let me know what you feel about this blog. If you like what you read, please share in your circle and click on "Buy me a Coffee" because I love coffee. ☕😍